AccuAir manifold stand
I needed a way to mount the AccuAir manifold underneath the bed. I found a nice stand on eBay that would normally be used for a on top configuration. This will have to be mounted

I needed a way to mount the AccuAir manifold underneath the bed. I found a nice stand on eBay that would normally be used for a on top configuration. This will have to be mounted

The original solenoid setup is working fine but I’ll be replacing it all with a new parts. The Viair 485C Revision 2 dual compressor kit came with a solenoid (active relay). I will still use

I don’t understand the reasoning for the original owners logic to install the upper cup bolts the way it was done. The upper cup bolt would normally come up through the center shock tower larger

My buddy Rick owner of “Racks by Rick” came over to weld in the seamless air tanks mounting brackets. We are using 1/4″ stock, plenty of mass and strength to hold the lightweight aluminum tanks

The original front air ride bags were 2 bellows. The replacement Slam Specialties RE-7 series are also 2 belows. One of the characteristics of the SS bags, these will have a increased vertical travel. This

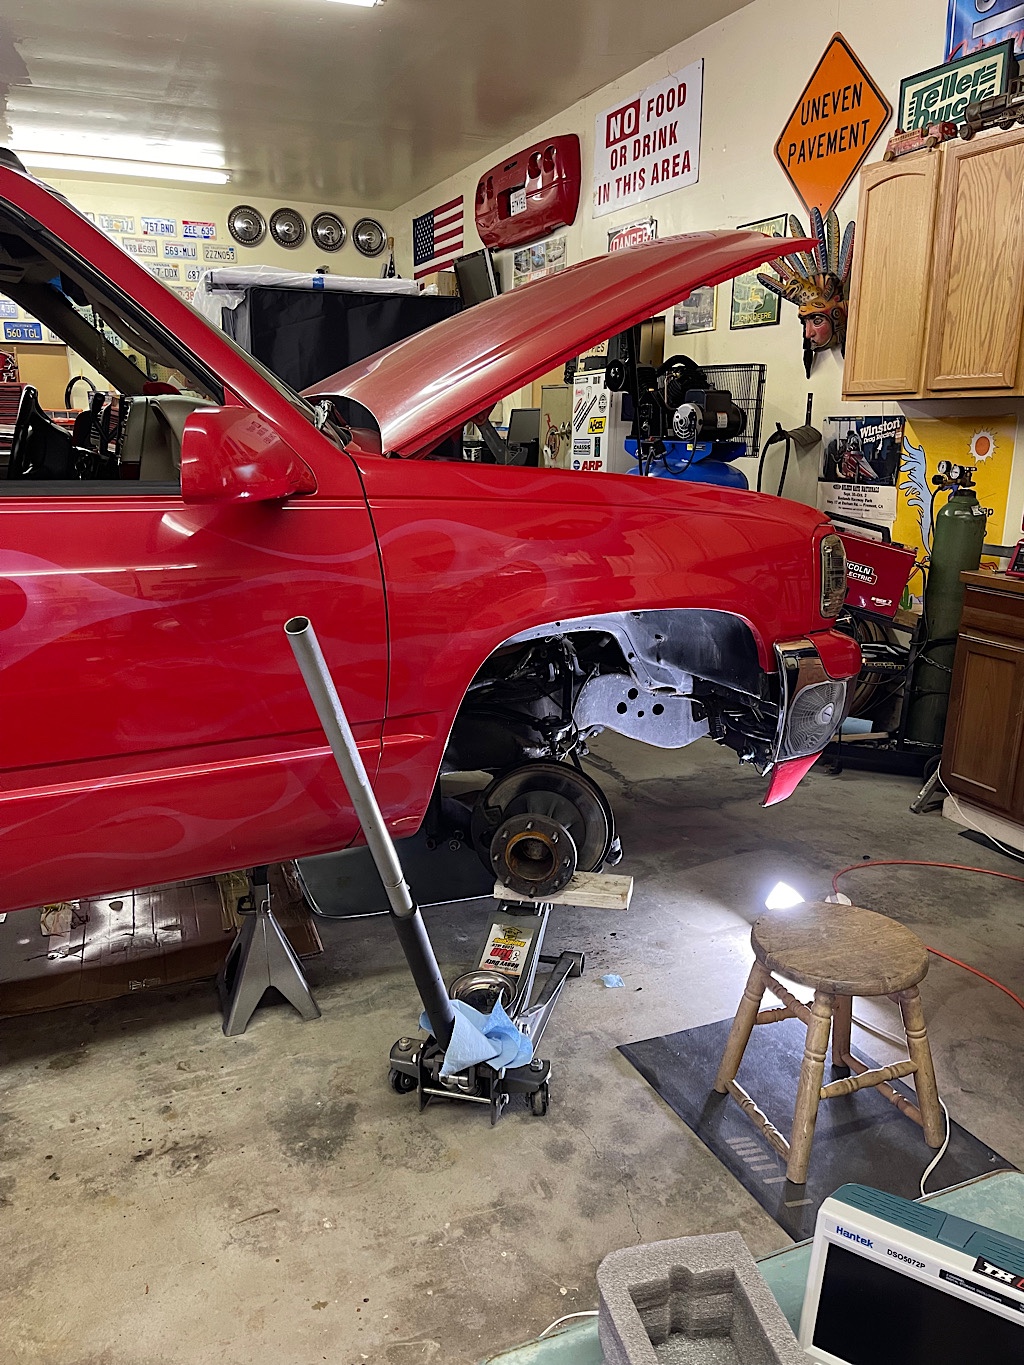
I began removing the front passenger air bag. The upper control arm ball joint was super difficult to remove. None of the ball joints removal tools I have are large enough to work. The thing

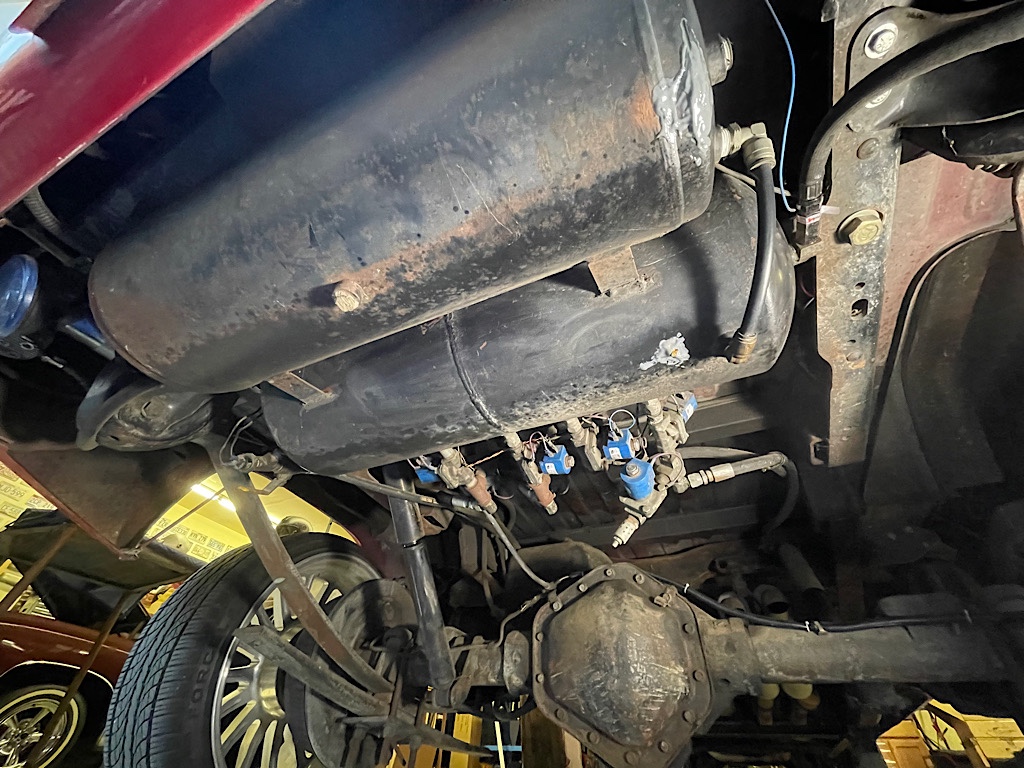
One thing for certain this was a lot of work back in the day. The amount of plumbing to get the air from the compressors to the tank and out to the bags is nuts.

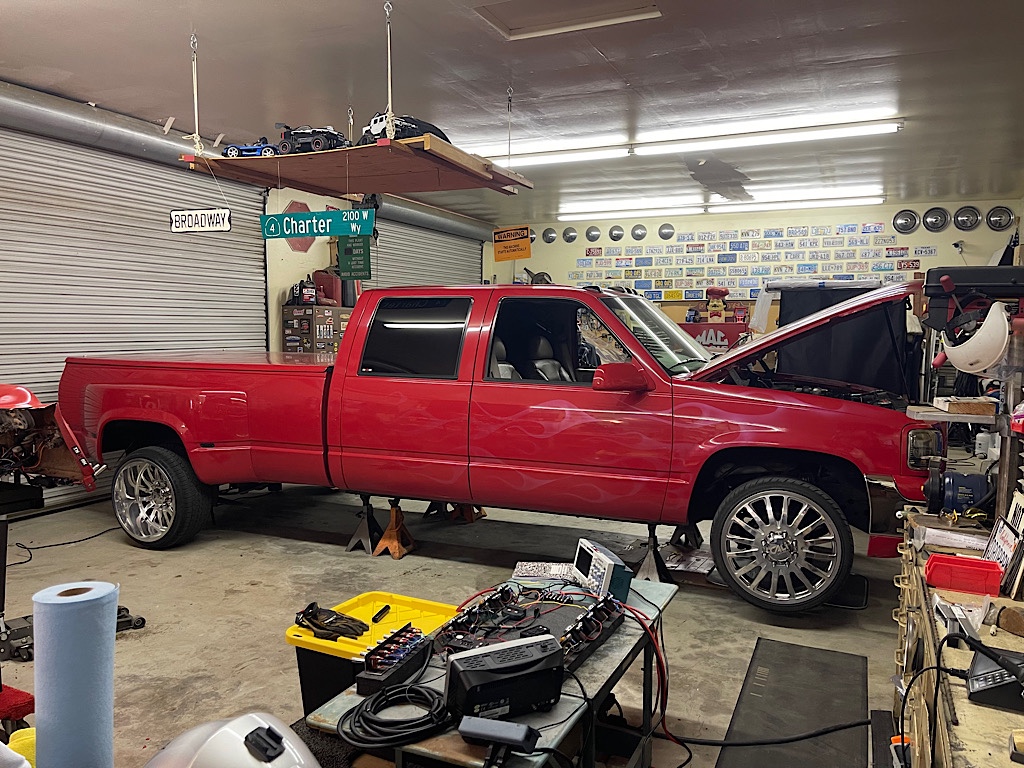
Starting the air ride suspension upgrade. I’ll be removing the existing setup and installing all new modern components:

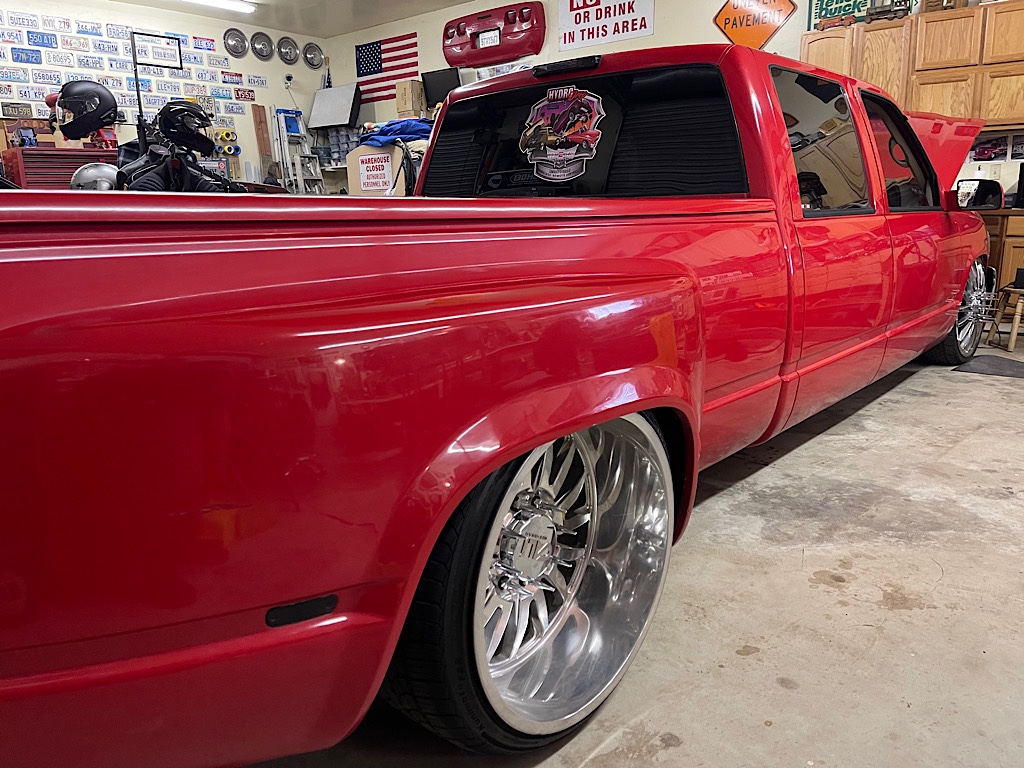
I applied the new HydroDrop sticker I had made at De Leon Signs located at Stockton CA. This company really works with you in getting a quality piece. Being that the piece is large, close

I asked Marcelo Chicano to come up with a logo for the shop truck rear window. This particular design required 3 important elements. The logo covered Lay N’ Play, Hoppers and the Mini Truck Bed